
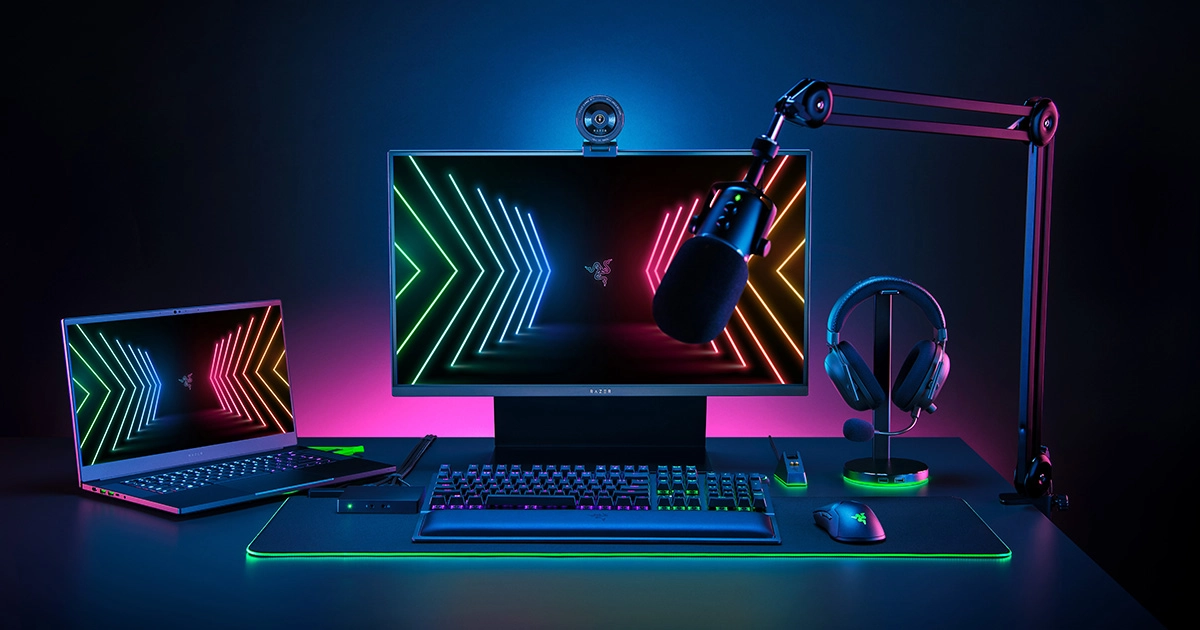
1. A Personal Computer
This can be either a Windows or Mac machine. Any laptop or desktop should work fine as long as it has enough power to run the software programs needed for recording. Additionally, make sure that your computer is equipped with enough RAM (Random Access Memory) and storage space for all of your projects.
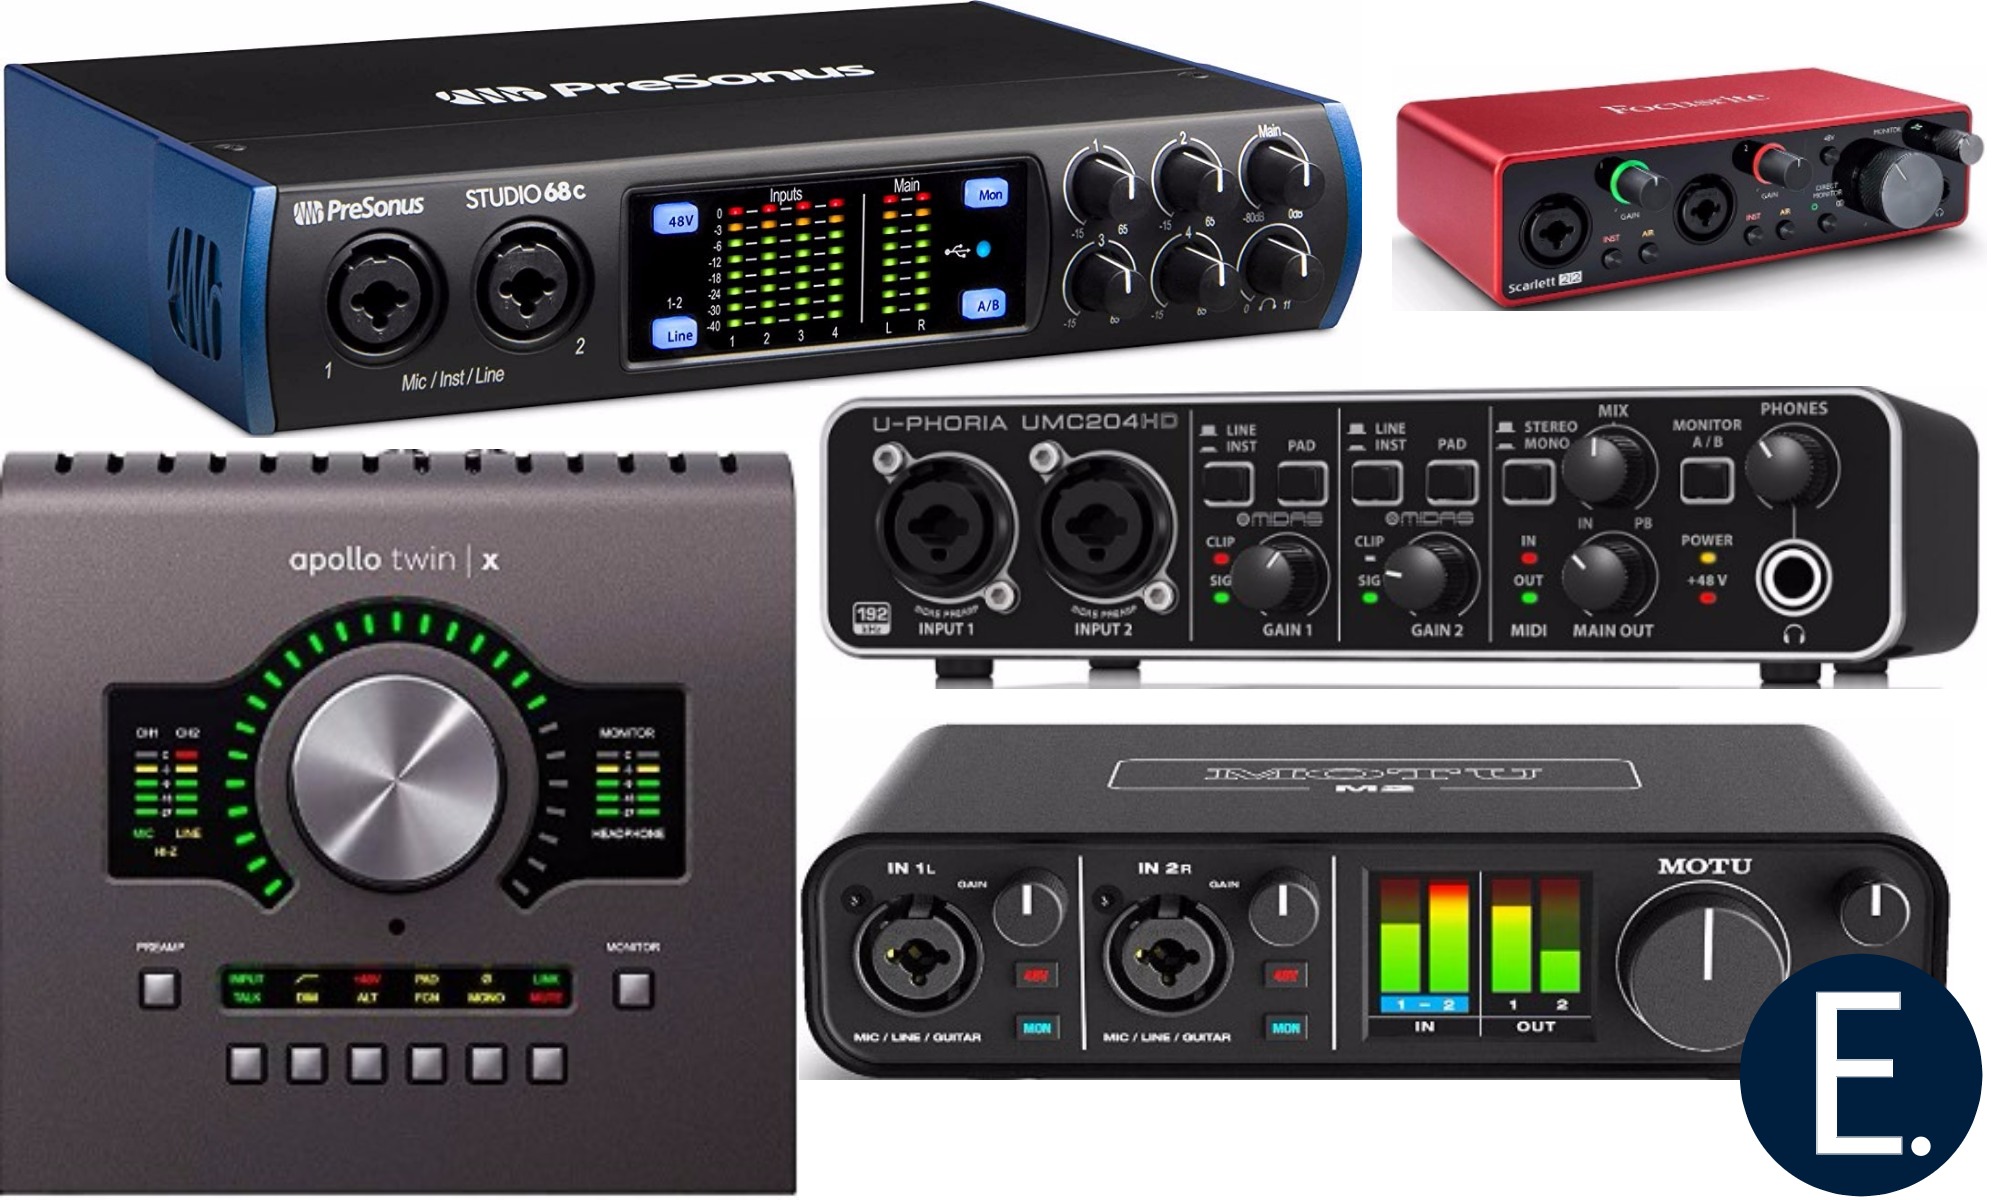
2. Audio Interface
This is one of the most important pieces of equipment in any home recording studio setup because it allows you to connect microphones and other audio devices directly to your computer via USB or FireWire connection. An audio interface also helps prevent unnecessary noise from entering your recordings by providing additional sound insulation between the microphone and other sources.
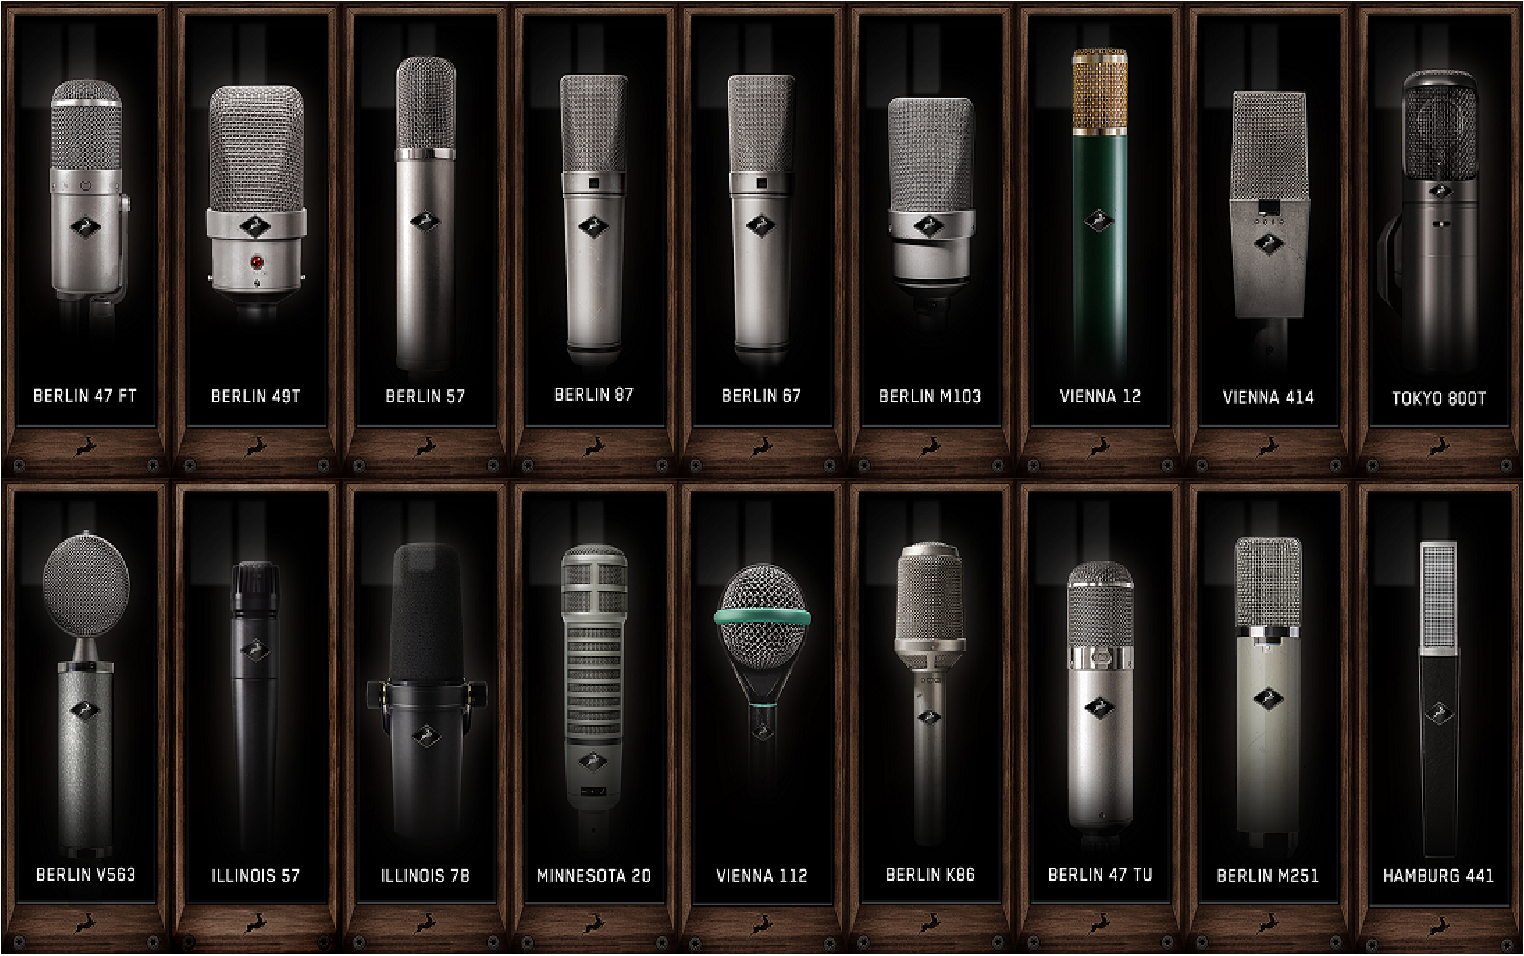
3. Microphones
Depending on how many people or instruments will be recorded at once, select microphones accordingly. Dynamic mics (like those used in live performances) are usually good starting points since they tend to capture sound better than condenser mics (which are typically used for studio recordings). Also, take into consideration the size of your room when selecting mics; larger rooms require larger-diaphragm mics while smaller rooms can accommodate standard-size ones without any issues.
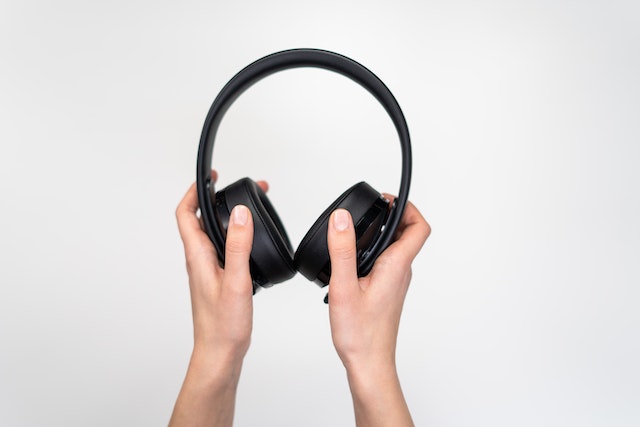
4. Headphones
Headphones come in handy when monitoring various audio sources during recordings as well as keeping background noise out while mixing/mastering tracks afterward. When selecting headphones for use in a home studio setup, look for ones that provide clear sound quality without any distortion or buzzing noises when turned up loud enough.
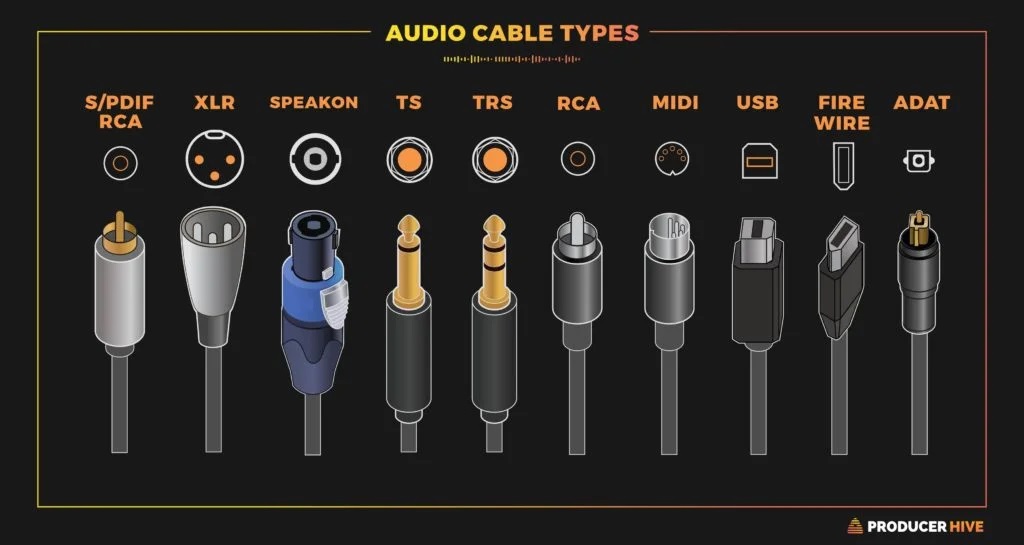
5. Cables & Connectors
To properly connect all components together in an efficient manner, cables & connectors must be used accordingly; this includes XLR cables (for connecting microphones), 1/4 inch cables (for connecting instruments), RCA jacks (for connecting speakers), etc... Keep in mind that quality cables will produce higher quality sound overall so don't skimp on this aspect!
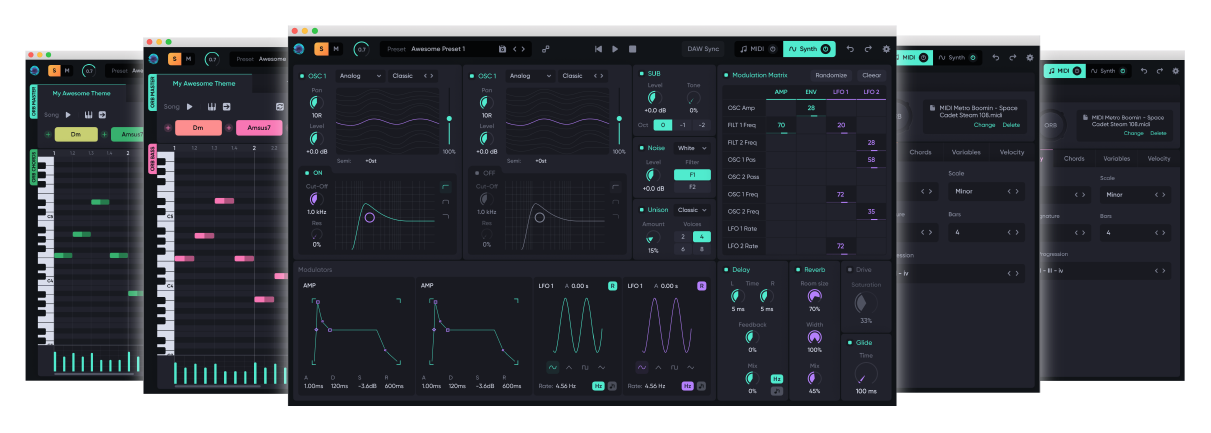
6. Software Programs
Last but not least; software like Digital Audio Workstations and ORB Producer Suite is an essential tools when creating professional-sounding recordings at home studios. This software allows users to record multiple audio tracks simultaneously while providing effects such as compression & EQ settings which can greatly enhance finished compositions once mastered correctly.

Other Considerations
When setting up a home recording studio, it’s important to consider not just what equipment you need but where you should put it in order for it to fit together properly. You’ll want an area that has adequate space for all of your gear without being too cluttered or cramped; this could mean setting up shop in a spare bedroom or even just clearing out one corner of your living room if space is limited. Additionally, if possible try to keep all of the cables organized and neat; this will not only help keep everything looking tidy but will also make troubleshooting any issues much easier down the line. Lastly, consider investing in some good lighting—even just adding one lamp near where you will be working can make all the difference when it comes time for editing and mixing sessions!

